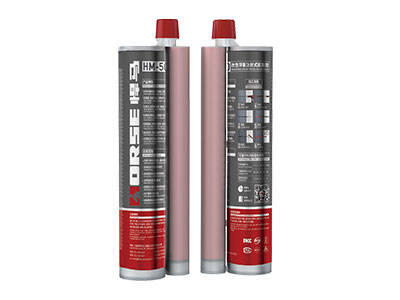
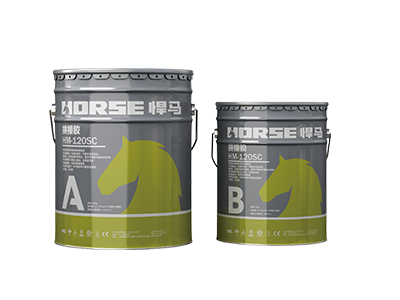
Part A (Epoxy): 10kg
Part B (Hardener): 5kg
Mix Ratio: Part A: Part B=2:1

HM-120SC Segmental Bridge Adhesive is a solvent free, two-component, high modulus, moisture-insensitive epoxy adhesive specifically developed for use as an adhesive for precast segmental bridge elements.
• High compressive strength
• High compressive strength
• After curing, the color is close to that of concrete, and there is no obvious color difference.
• After curing, the color is close to that of concrete, and there is no obvious color difference.
Suitable for assembly of prefabricated segment components
Suitable for assembly of prefabricated segment components
• Sealing ring installation
• Sealing ring installation
Product Characteristics
• Good bonding performance
• Long operability time
• Thixotropy
• Good flow resistance
Product Characteristics
• Good bonding performance
• Long operability time
• Thixotropy
• Good flow resistance
Advantages of HM-120SC
• The early compressive strength is high, up to 30MPa in 12 hours.
• Good bonding performance to ensure the strength of the splicing seam.
• It can be glued and can be bonded for a long time. It is not affected in a humid environment and is convenient for construction.
• Good squeezable performance, which is conducive to the uniform coverage of the bonding surface with the colloid.
• Non-volatile, no shrinkage.
Application Range
Application Range
How to Use Bridge Segmental Adhesive
• Segment in place
• Section cleaning
• Segment trial
• HM-120SC preparation
• Apply HM-120SC segmental bridge adhesive
• Formal stitching
• Pressurized to gather
• Glue cleaning
• Curing and maintenance
How to Use Bridge Segmental Adhesive
• Segment in place
• Section cleaning
• Segment trial
• HM-120SC preparation
• Apply HM-120SC segmental bridge adhesive
• Formal stitching
• Pressurized to gather
• Glue cleaning
• Curing and maintenance
HM-1.2T Unidirectional Carbon Fiber Strip
HM-120L Crack Injection Resin
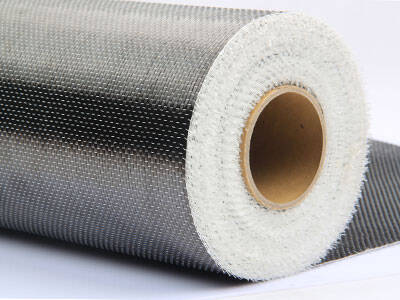
HM-30 Unidirectional Carbon Fiber Fabric
HM-500 Injection Anchoring Adhesive
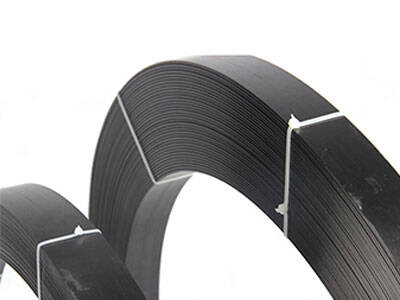
HM-1.4T Unidirectional Carbon Fiber Plate
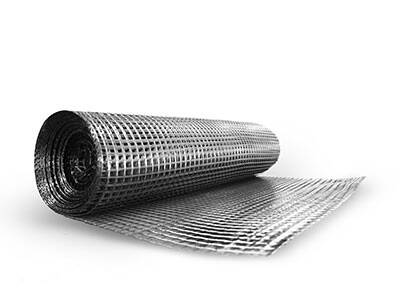
HM-MJ-G20 Prestressed CFRP Laminate System
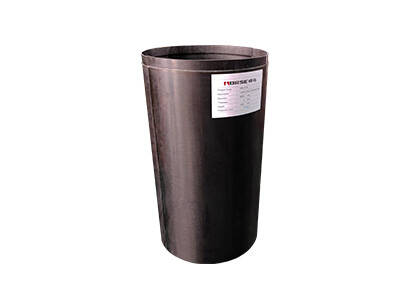
HM FRP Pile Jackets
How to Use HM-120SC Segmental Bridge Adhesive
--Seal ring installation. Install a high-compressibility sealing ring at the pre-stressed nozzle of the precast section to prevent the glue from entering the pre-stressed pipe.
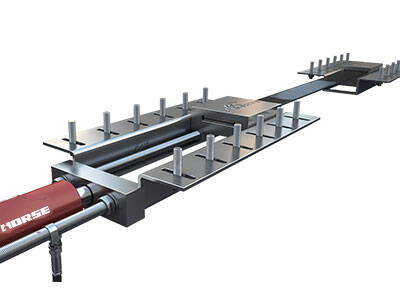
--Segment in place.The bridge building machine is ready, and the segments are hoisted into place in the order of splicing.
--Section cleaning. Polish the splicing surface concrete to ensure that the splicing surface is flat and clean.
--Segment tryout. Perform segment trial splicing to check and ensure that the pre-stressed pipeline is unobstructed. Lock the assembly angle and move the segment outward a proper distance to facilitate the application of glue. --Segment tryout
--Glue preparation. Prepare Hummer segment splicing glue according to the specified ratio and stir at low speed until the color is uniform.
--Glue application. Spread the Hummer segment splicing glue evenly on the splicing surface within the specified time, and the total thickness of the glue layer is 2 to 3 mm. In order to speed up the progress, several working surfaces can be painted and scraped at the same time.
--Formal stitching. The segments are formally aligned and spliced.
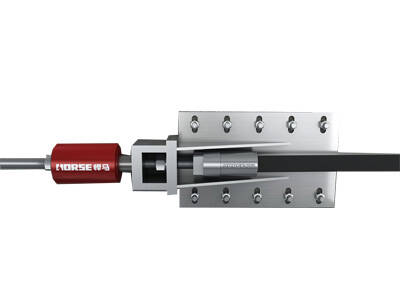
--Pressure to gather. Install Hummer temporary pre-stressed tensioning device to apply pressure to the splicing seam by about 0.2-0.3MPa, so that the two sections are gathered and compressed until the splicing glue overflows from the glue seam, and the glue seam width is controlled to be about 1mm.
--Glue cleaning. Clean up the spilled glue to ensure that the prestressed pipe is not blocked.
--Cure curing. During the curing process, avoid disturbance and take protective measures.